Wednesday, November 14, 2018

Impossible Coconut Custard Pie! Delish!!

I'll start this post by saying I have never been a lover of coconut custard pie and now more than ever I don't know why????This pie was amazing!  What took me so long?


 I love coconut cream pie and usually hubby and I share a piece when we are out to dinner and the restaurant we are at happens to be known for their delicious coconut cream pie.  Scouting through recipes today and knowing I had milk and coconut and that both hubby and I love coconut I decided to try my hand at  a coconut custard pie.

  My hubby has always loved coconut custard so adapting a few similar recipes this is what transpired. It is a really easy pie that the crust bakes right into it. Amazing!  I'm sure there are several recipes out there to try, so hopefully you'll try this one.

    After it had cooled I placed it in the refrigerator so it would be COLD and probably easier to slice all I have to say is:   Oh MY Delicious!! Of course I devoured a huge piece lol .  Yummy!

and I can't wait for hubby to come home from his golfing.  He is going to LOVE it!  I am now a coconut custard pie lover.  Enjoy!  All you need is a blender to make this pie. 

I made the impossible coconut pie today in a different pie dish.  Just as delicious.


Note: My pie plate was approximately 9.5” round center
2” deep.

2 cups milk( I used 1%)
4 eggs
1 tsp. vanilla
 3/4 cup sugar(cut sugar back to 1/2 cup if you prefer a pie not as sweet)
8 T butter softened
1 cup coconut (I used sweetened coconut)
1/2 cup all purpose flour
 dash of nutmeg
Place milk, eggs, vanilla, butter,sugar and coconut in blender and mix.  Add flour last and blend until flour is blended well.   Pour mixture into a greased and floured pie plate.  Sprinkle with a dash of nutmeg Bake 350 degrees approx. 45 to 50 minutes depending on oven temperature.. 

***NOTE
When pie is done baking a slight jiggle in center will assure your custard is perfect !

Cool on rack to room temperature and then refrigerate until ready to serve.

You can eat it when it’s baked and cooled but allowing it to set up in refrigerator makes it easier to slice.

 Enjoy!

It doesn't stay as high as it looks..Deflates a little after it cools..


Happy Baking from my kitchen to yours,

Tuesday, November 13, 2018

Impossible Pineapple Pie

I was anxious to try this recipe so I made it last night about 8 p.m.  It's going to be a keeper :). I know it!

 Impossible Pineapple Pie! 


I don't have a particular system for baking.  I do it when the impulse hits me and time is never a factor.

I think that most would have the ingredients for the exception of the pineapple.  Fortunately I had it too so this pie was done in a flash.

A very easy and as you'll see a pie that was still slightly warm that my hubby just had to taste test at 10 p.m.  I  managed to get a small taste of his before he literately gobbled it down  and it was delicious.

Canned whipped cream added to it as it started to melt as I was serving him. He told me it had the perfect taste and texture and he couldn't wait for tomorrow to have more. LOL

I am positive it will slice much better once cooled...Hubby was very impatient LOL...


I used 2% milk so I'd suggest you use as least that percentage. I wanted it to make some yummy custard so I wouldn't suggest skim milk for this recipe.

**Note:  Adding a little coconut might give it an extra yum if you would like. Maybe 1/2 cup??

Enjoy! Positive thoughts coming your way! 


1 1/2 cups milk
1/2 cup sugar
3/4 Biquick type baking mix
1/4 cup butter melted
2 eggs
1 tsp. vanilla extract
1 - 20 oz. crushed pineapple drained

Heat oven to 350 degrees.  Spray a deep dish pie pan with cooking spray.

Using an electric mixer place eggs, melted butter, sugar, milk and vanilla. Beat slowly to combine and Add Bisquick mix and beat until thoroughly blended.  With a large spoon add drained pineapple, stir a few times and pour into deep dish pie pan.

Bake 45 minutes at the 350 degrees.  Cover pie if it starts to brown too quickly and after 45 minutes increase heat to 400 degrees and bake another 10 minutes or until center of pie is set.

Remove from oven and allow to cool completely.

Refrigerate until ready to serve.  Top with whipped cream


Blueberry Impossible pie

At one time or another I really enjoy making a pie that requires no effort where the end result is a delicious dessert.

This is definitely a wonderful pie and an easy recipe to follow.

I made the batter in my blender as I have done other impossible type pies. It worked out perfectly blended and easy to pour into pie


1 C. flour
1/4 C. sugar
1 tsp. baking powder
1/2 tsp. salt
1/2 C. butter or margarine, softened
3/4 C. milk
1 egg
1- 21 oz. can fruit pie filling (apple, cherry, peach, blueberry, blackberry, etc.)
Sugar (or cinnamon-sugar)


Combine flour, sugar, baking powder, salt, shortening, milk and egg in your mixer or blender. Beat well. Pour batter into a well greased 9″ pie plate. (I used coconut oil spray)


 Pour pie filling into center of batter (to 1″ of edge). Sprinkle with sugar (if apple or peach is used, sprinkle with cinnamon sugar). Do not stir. Bake at 375 degrees for 35 to 45 minutes, or until brown and appears set. Makes 6 to 8 servings depending on size of slice.


Monday, November 12, 2018

Biscotti Recipe! Aunt Anna's Recipe

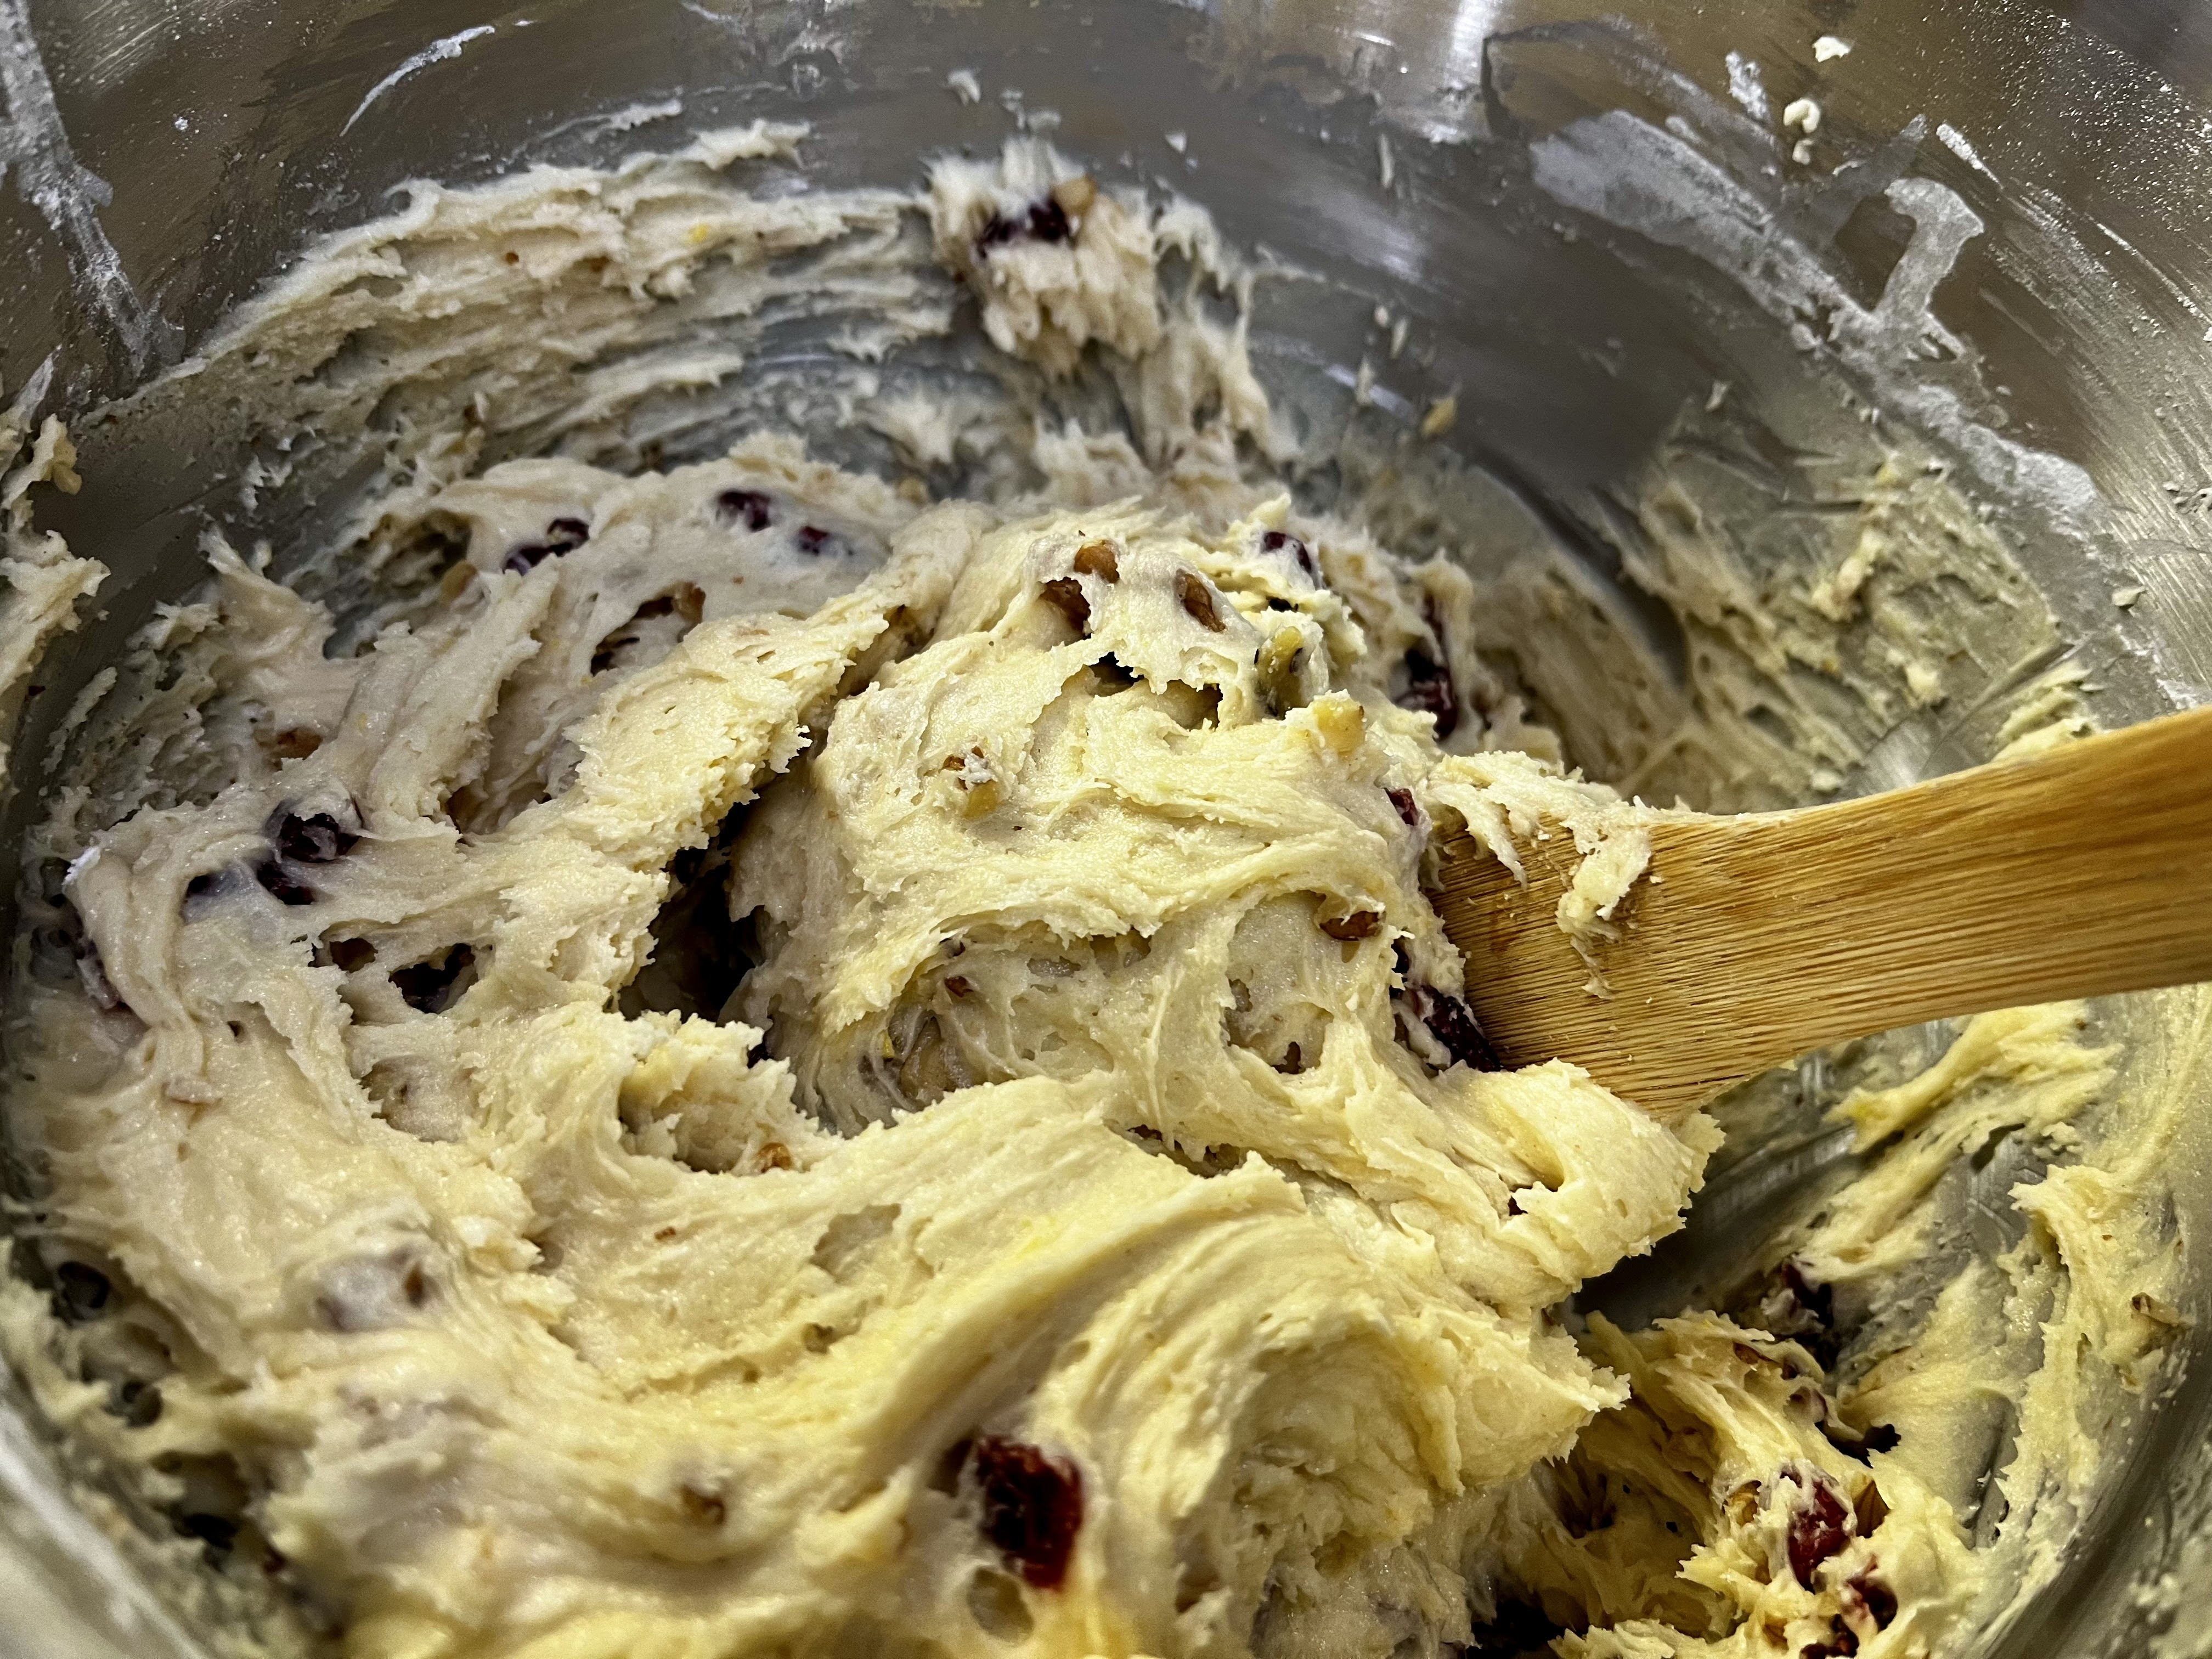
Today’s Recipe for Biscotti with a few changes. 

****I changed this recipe a bit today.
1/4 cup extra virgin olive oil 
3 Tablespoons soft butter instead of all
(1/2 cup )butter. I love to play with recipes…

1/30/26


Crispy and very delicious flavor from
Orange. Use a small
Amount of orange juice if you don’t have an orange.


Original recipe;

One: I added dried cranberries and chopped almonds. 
Two: I used lemon rind instead of orange rind.


Three:  These browned better because I brushed them with the beaten egg whites.

**** Note:  Instead of rolling the dough I use heaping tablespoons in a row and even them out with a large knife.

I cut these while lukewarm.  I usually wait until cooled to cut and rebake.


This recipe made 4 logs.


I have a tried several family Biscotti recipes!  This recipe was given to  me by my Great Aunt Anna. My Dad's favorite aunt.  These biscotti were his favorite, dunkable cookie :).  I loved visiting her.  She always called me Madeline, one of the only family members who has from birth. 

Here’s a little more information.
It's a very long story but that is what the M. stands for in M.j. 

When our family visited her she would always set out on her dining room table a huge platter loaded with thinly sliced prosciutto and Imported provolone cheese.  Of course freshly baked Italian bread too!  How I loved that combination and to this day still do!

 Great memories of sitting in her dining room  listening to her talk about her many trips to Italy to see family. She was so smart and a gifted artist. I loved hearing her stories of how much she loved Italy.

In her late years(80ties) she started painting beautiful scenery oil paintings.  They were absolutely gorgeous!  Her grandchildren inherited them and quite honestly I have not seen them again.  So today I want to share with you her Biscotti recipe.  They are wonderful dunked in coffee or just grab a few to nibble on. Of course my Grandpa dunked them in homemade wine!!!!!!!

 Here is her recipe.   Oh so good!  Note:  These Biscotti are a bit harder than my original Biscotti recipe( good dunkers) but still really tasty with a hint of orange!

 Enjoy!  Happy Baking from my kitchen to yours,


M.J.


6 eggs
2 cups sugar
1/2 lb. butter
6 cups flour
pinch salt
6 tsp. baking powder
1/4 cup milk
2 tsp. anise oil or extract
Rind of orange
Sliced or chopped almonds or walnuts (I used walnuts )

Beat butter, sugar, salt, anise, rind of orange and milk with an electric mixer, add flour a little at a time until well blended..

Note:  After I mix it as best I can, I transfer to acrylic board and work the mixture together putting a little flour on board as not to have it  stick..Then roll into 4 or 6 rolls..  Place on greased cookie sheet. Brush with 1 beaten egg white.   Bake 375 degrees approx.  15 minutes one side and 15 minutes on other. Rolls should be browned slightly.  Take out of oven, cool slightly, cut in 1/2 inch slices, place back on cookie sheet and place in oven and toast each side for approx. 10 minutes until lightly browned. Cool thoroughly before storing.

Note: I tried using a light icing on these biscotti.  I brushed it on with a pastry brush..

I mixed confectionery(powdered sugar), a bit of skim milk and one drop of food coloring.  Just enough to easily brush on top of Biscotti.. 

Dry Biscotti before storing!  This icing dries easily!


12/13/11 
5/5/13
12/21/23

Italian herb seasoned Roasted Yukon gold potatoes

Hi:


The other night I made chicken romano and I just wasn't feeling the pasta as a side so I decided the 2 lb. of small yukon gold potatoes I had bought would be a good choice.

Here's the recipe:

I washed my potatoes.  Since they were small I just put them in a pot of water and rinsed them several times.  Rinsed and dried with a paper towel and cut them in half.

In a large bowl I placed the potatoes, 1/3 cup olive oil 1 tsp. Italian herb seasoning,1 tsp. dried parsley, 1/2 tsp. garlic powder, 1/2 tsp. onion powder and 1 tsp. salt. Tossed them well to make sure they were all covered with ingredients.

Set my oven to 350 degrees and then placed the potatoes with seasoning in a medium to large roasting pan uncovered.

Every 15 minutes I checked them and shaked the pan until potatoes were fork tender.   It took about one hour+.  Note: you an bake them at 375 if you are in a hurry.  They might cook a little faster.

Delicious as a side.  Of course if you LOVE potatoes you're sure to love these.