Showing posts with label Tips-Tools-How To(s). Show all posts

Thursday, January 4, 2024

Kitchen, Pantry, Closet, Home :). A little motivation from me to you!

Hi and Happy New Year 2024 everyone!

Winter is a perfect time to minimize lol if you can and organize.  Whether it’s your kitchen area or your closet get going.  The winter will breeze by and you’ll feel so much better GETTING ORGANIZED! M.j.

Here are some new updated photos of my kitchen cabinets and laundry room.


It doesn't matter what time of the year it is getting organized will make YOU feel better. 

All stored in my cabinet and every year I check for old, dried up spices..Everything tastes better when using fresh.
Note:  Some of these suggestions may be repeated in other Getting Organized Posts.


Every January, July or about I spend a day or a few hours on a day or weekend and have a pitch party...................as in out with the *old, messy, stained or just ugly (why did I buy that) item?  This also goes for your spice cabinet or drawer.  I think this post is worth re-posting for those who need a bit of inspiration and and a little push!   Whether it's your *closet, *kitchen cabinets or home * it time to pitch out dated items and freshen up your home.

Spices lose their freshness after time so buy in small quantities to assure you'll replace when needed.  


Spring will be here in no time and what better time now to start setting some goals for a stress free summer.  I love to set goals for myself.  Whether it be saving for a vacation, eating healthier, or keeping my home in order..  They all have meaning to my life and to help make it stress free I have found that setting goals has helped make my life much more enjoyable..

 This whole goal thing probably was inspired when I worked for a cosmetic company.. Everyday goals ($$$) were set and it was placed on top of our work sheet.  That number would glare at me every hour I worked.   It did motivate me( I made my selling goal most days I worked).  I felt proud of myself too (I think I stood a little taller those days) and honestly a little sad when I didn't make my goal but I never gave up.  Never Ever!!


  One of my top goals in life has always been to keep my home clutter free.  I'm a pitch person.. I love magazines but only keep a very few after I read them and that goes for books. Those extra dishes you never ever use or all those slacks and tops that have shrunk from the dryer( I'm being kind to myself). Donate, donate donate! or have a garage or yard sale.


  Warm weather is on the horizon so you and your friends may want to have a neighborhood yard sale.  There are so many options for you. On a positive note if you donate you can get a tax deduction. You just have to remember to not let clutter take over your life and it can if you allow it to.  You have to be in control and being in control is a great feeling.  Why not start right now and make yourself a few easy goals to make life a bit easier for you to enjoy!


In January I decided to work on my main clothes closet..I got rid of all my clothes that I hadn't worn in 2 years and donated to my church.  They were having a rummage sale.  My church appreciated it and I bet a lot of people benefited from those unwanted items..Anything old and tattered I pitched!!! What a wonderful liberating feeling.

Start today and make your life clutter free! 

P.S.  I'm keeping my hubby and kids!!!!

Make a list of 3 goals to set for yourself and start today to make your life a bit more enjoyable. 

As always,


3/12/12 
1/16/13
3/18/13 
8/3/15 
1/4/2023

Wednesday, January 25, 2023

Getting Organized: FYI: Your Clothes 2023

 Happy New Year 2023

Every year I update this post but I seldom change a word.  Just the year!

  It’s the best time of year both January and July to get yourself and your closet and home back on track.


I usually post this every year to help us get organized.  

Twice a year, January and July I try to go through my closet and decide what I'm going to do with items I never use, seldom use, are damaged and either donate, take to resale store or discard.

The years come and go but somethings don't change.


Let's get together and get organized.


Passing a few helpful suggestions to you to help you and I get organized this new year.  

To be clear I am not suggesting you do this for New Years Eve or Day.  

A rainy day or if you find yourself bored and are looking for a lift it's a good suggestion. Also if you have not made any plans for the weekend I say why not? It just may make it a good way to start the new year or a new month. 

I know it is hard to do but in order to have a free and uncluttered closet you must downsize.  Several nice casual and dressy casual outfits is probably all that you will ever need.  Personally at this time of my life I need less and as much as I love to shop I find myself being a lot more selective.  So IMO that is as good a reason to leave room to pick out some new items when you feel the need for a little something to update..

FYI:  Take some time (preferably on the weekend )  or a rainy day and start going through your clothes. Anything that is soiled or damaged get a large bag and get rid of them.  Make note that any clothes that don't fit quite like you would like them to either pitch it or put it in a pile to go through to donate or re-sell at a re-sale shop.  They are the in thing at the moment.

Making about 3 piles should make it simpler to do. One to pitch soiled or unwanted items, one for donation to local homeless shelter and one for consignment or re-sell.   This should help allowing room for any must keep items.  This should not take you a very long time.  It is either a keep or time to go. Simple!

I like a neat closet and twice a year go through it.  It makes me feel much calmer.  Yes it does and instead getting frustrated on what to wear this will take some pressure off you. 

It will take some stress out of getting ready.  No matter if it's work or to the grocery store.  It just makes life better!
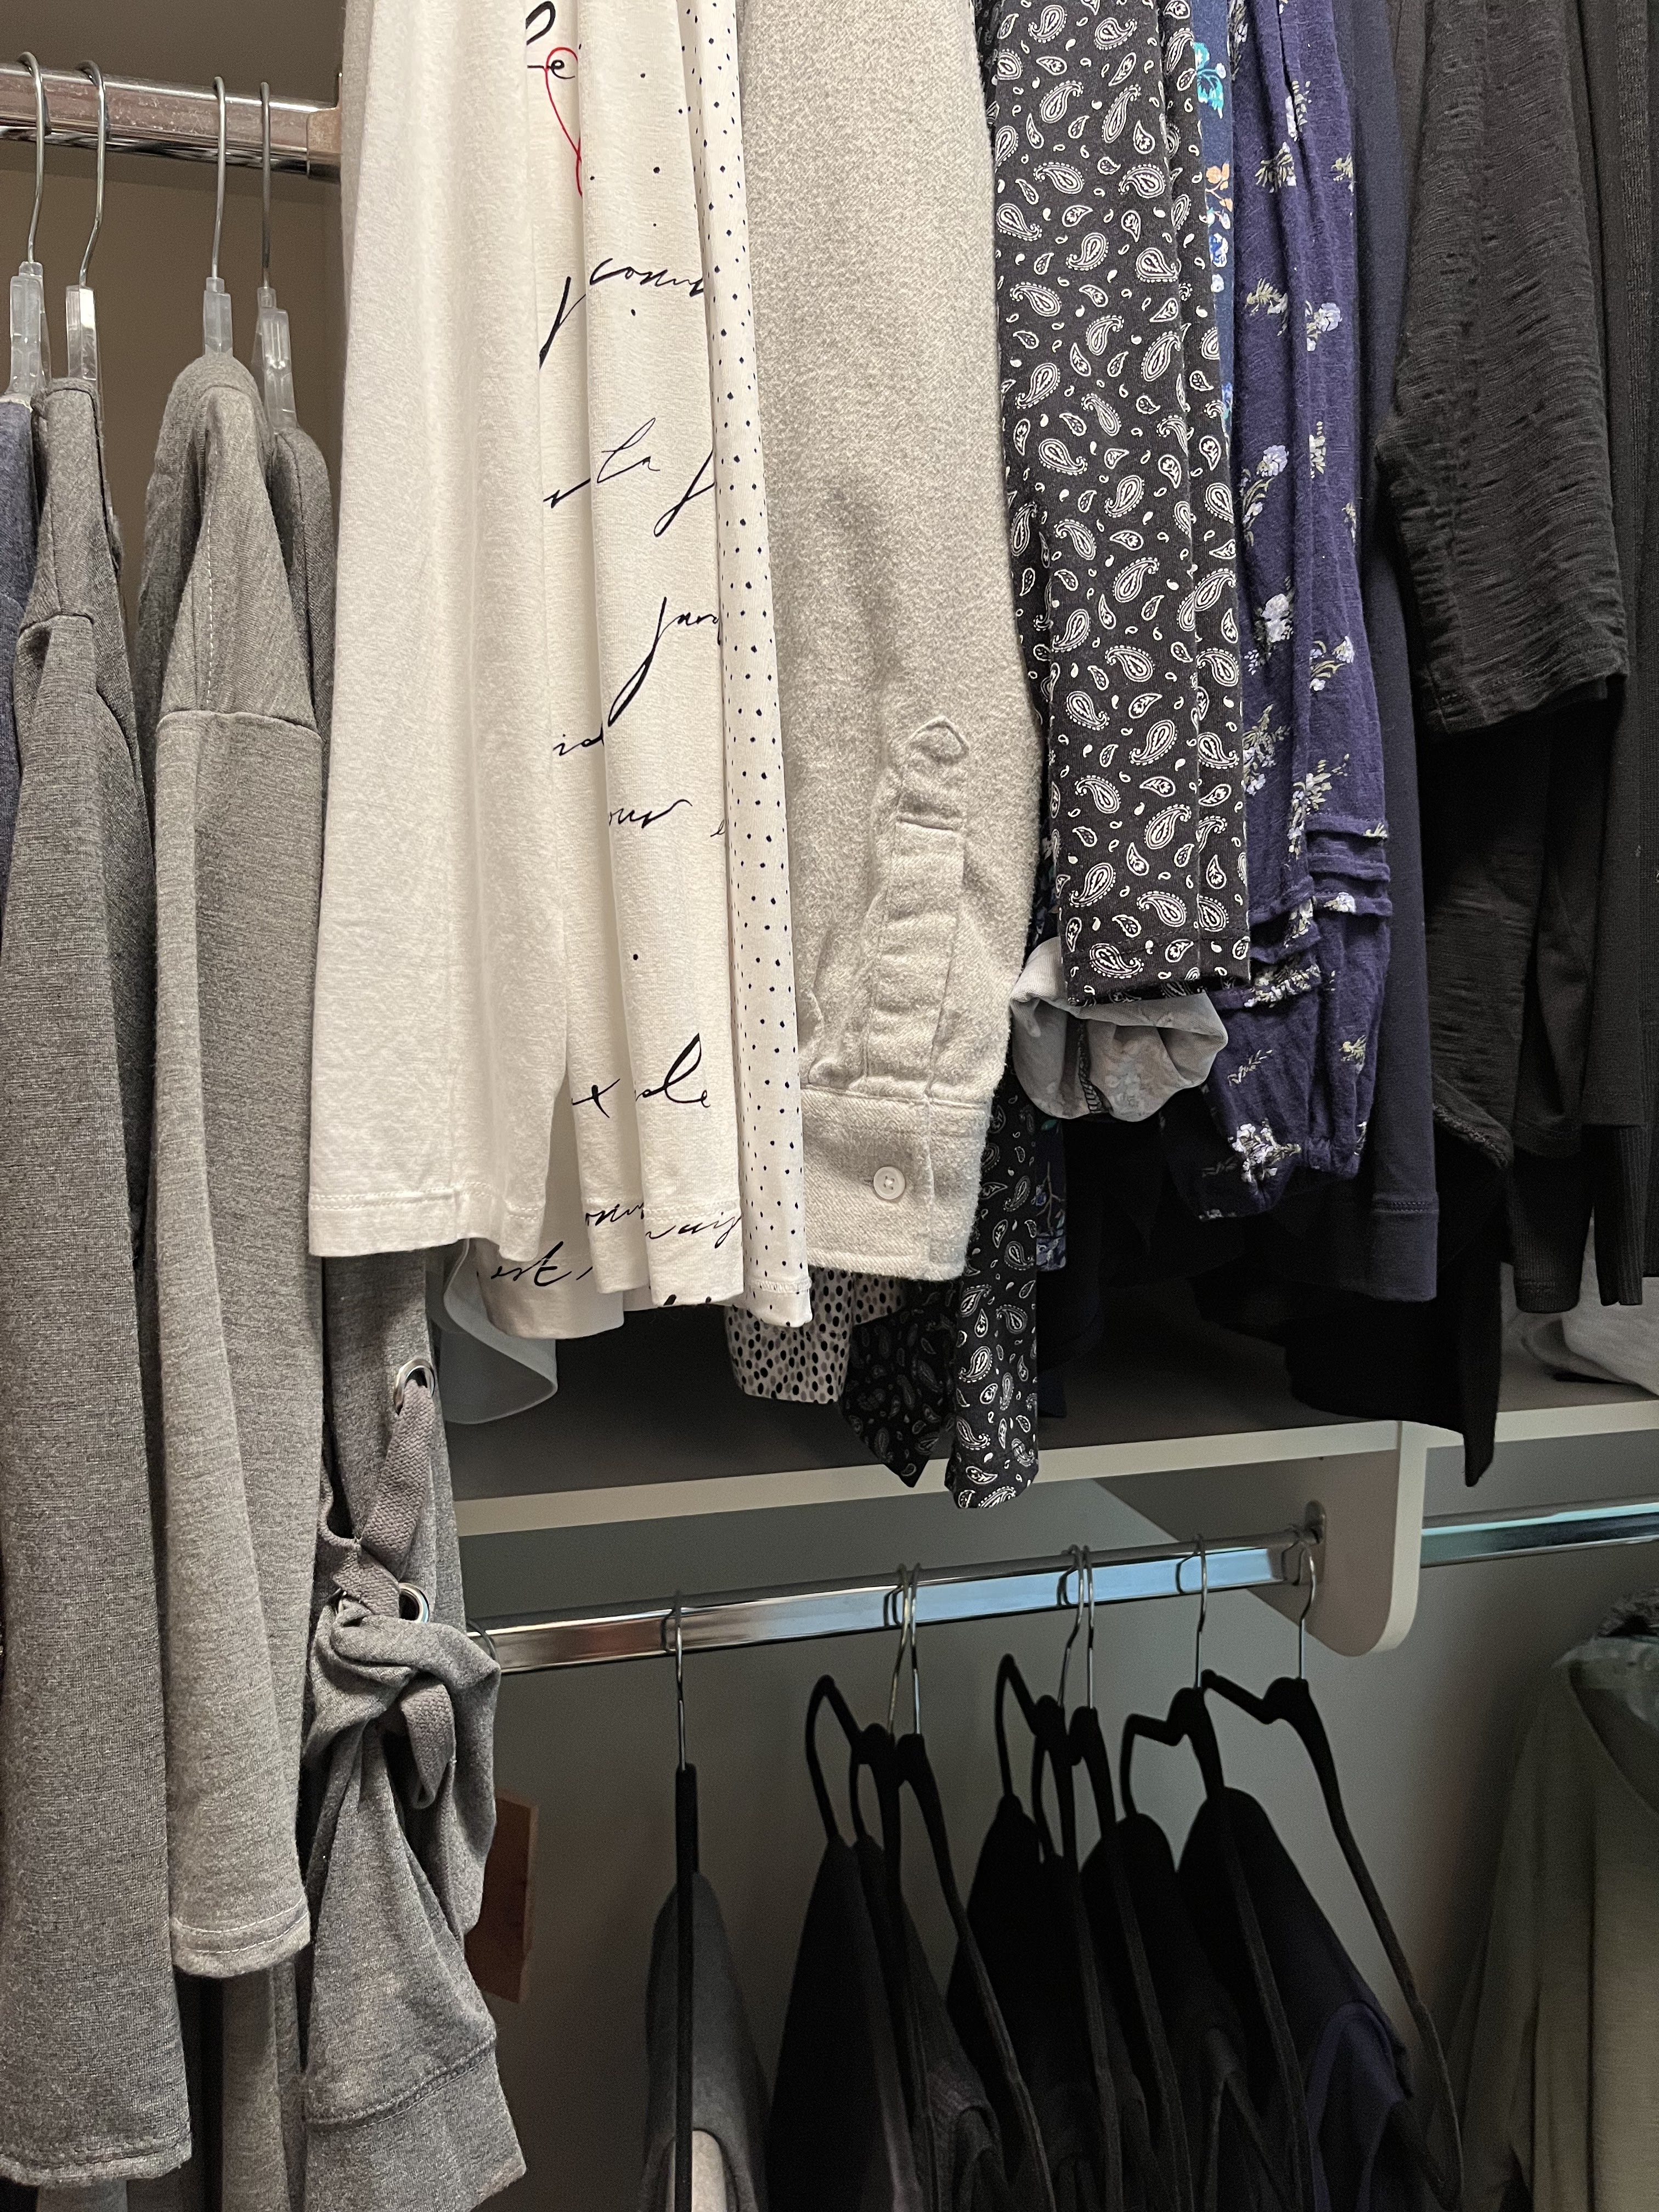
My Closet:


16


My shoes...removing boxes help and I use slide out containers and I do have an over the door rack for sandals. 

First and foremost I make sure all my hangers are going in the same direction.. So much easier when you have them all going the same direction.

Second:   I keep my shirts, blouses and other hang able tops in one section. I keep my clothes according to colors.  Whites, blacks, browns and keep mixed colors last.  Anything that can be folded I put in easy accessible drawers.  I keep all tanks, tees and cami's in one drawer..

Third:  I place pants/slacks, beige's, brown's and blacks next to my shirts or blouses. I have decided basic colors work best!

Fourth:   I place all casual jackets, blouses and tops  according to color.


***I keep belts and scarfs on a belt/scarf hanger (I bought one at Marshall's for $6.99.. ( I used to love scarves but now feel they outdate you).  I’m donating lots of them.

You can use a plastic soda 6 pack bottle container for scarves too!  

They make an easy place to store scarves.  Hang the plastic container on a hanger and through the holes place scarves.( I hope I explained that enough for you to envision it..No picture sorry!

Fifth:   At the very back of the closet all dressy skirts, pants and items that I use only on occasion. I find I wear fewer dress items anymore.


A special note:  You don't have to spend a fortune organizing your closet.  I ask for the hangers when I purchase items.  Usually they are more than happy to accommodate.  I do have a few felt pants hangers for those creased or hard to hang pants or slacks..

Last about shoes.  I love shoes lol.  and purses(I won't even go there)and shoes and purses are a weakness in my never ending search for the right purse/bag or pair of shoes. 

Note:  I do not keep boxes..I have learned they take up way too much space. I use stackable containers  to store my extra shoes. I bought the containers at either Wal Mart or Target. The drawers slide out for easy removal of shoes.  They store approximately 5 or 6 pair of shoes in each container, depending on size of heel... 

On a personal note I find being organized in my home makes me more relaxed and feeling in control.  

Happy New You!


12/30/16
Updated 1/25/2023


Monday, December 19, 2022

Thinly sliced Roast Beef! One of our family favorites

Updated version 12/19/2022

***I used a bottom round beef roast and placed in crockpot.  Added 1 package onion soup mix and water.  Note:  No searing this time.

Cook high 4 hours.


  I also strained liquid and made gravy on top of stove.

Approximately 2 cups room temperature strained liquid in a medium pot.  
 I Add water to make 
the 2 cups if there isn’t enough of drippings.

  Whisk approximately 3 T flour into warm liquid and heat on medium until it thickens.


Perfect!


Crockpot recipe of roast below.

2 1/2 lb. Eye round roast.
1 package onion soup mix
1  1/2 cups warm water.

Mix onion soup mix with warm water.  Set aside.

Sear roast in oil on all sides.  Place in crockpot.  Add onion soup mixture. 
Cover and cook on low approximately 3 hours or until meat thermometer registers beef. Allow to rest 10 minutes and slice.

Strain drippings.  Add to sliced beef.

This recipe would make awesome warm beef sandwiches (crusty rolls) or thicken juice for gravy or serve with yummy juice and sides.


For those who love beef you can't go wrong with this easy recipe. 

1/11/17


A good choice for a family dinner and nothing makes slicing easier than an electric knife! If you like your roasts sliced thin this is the way to go and it makes a great gift.  I love mine!


  I love my electric knife!  How many can say that?  If you don't have one it is a must!


For those of us who can't seem to get that roast cut thin enough this is a must have tool.  I have had mine for years and from Biscotti to Roasts this tool works wonders and slices perfectly. 


Slice thin
**3 # or more bottom round or eye round roast.  I usually use eye of round.


3 lb.(approx.) bottom round or eye round roast(Sear on top of stove for richer gravy color.
1 to 2 cups beef broth or stock ( I use Swanson)
canola oil
salt and pepper
Onion powder 

11/9/2020


Brown roast  in oil on top of stove with a few T of oil  adding pinch of salt and pepper and onion powder.

After you have seared/browned your roast, add broth, cover and bake in  350 degree oven for approx. 2 1/2 hours or until meat thermometer reaches desired temperature.  Remove from oven . Take roast from pan and cool slightly. It will slice better when it has rested a bit.

 ** Gravy: In the pan that has the drippings, skim any fat and add enough cold water to equal 2 cups. (if you have more drippings you will have to adjust flour amount). Whisk together while adding 5 T. Wondra quick mixing flour.  Place on medium heat and stir constantly until thickened and bring to a boil for approx. 1 minute.

Crockpot easy!  Follow recipe above).  Place roast in a crockpot after seasoning, add broth/stock and depending on how long you will be out either set on high for 3 to 4 hours or low for 6+ hours.

Remove from crockpot, thinly slice and serve Au jus with sides of choice.

FROM MY KITCHEN TO YOURS,


10/29/12 original 
6/20/13 
12/15/13
4:30/22


11/9/2020

Friday, February 5, 2021

FYI: Space savers and your home

Hi everyone!

I think it’s time to share a few of my secrets in the kitchen as well as all over the house for easy storage and organizing.

Your home is your castle but no matter what its size clutter comes along in all shapes and sizes so what do I do?  I continue to find easy ideas to eliminate clutter.

I find storage in my freezer to be clumsy at times with small packages of servings not used so here’s a few hints to help keep your freezer and pantry organized.


First:  Rubber bands versus clips for frozen veggies, snacks or bulky items.


Rubber bands work better and usually a large rubber band works for all sizes.  Plus they take up less space storing.


The uses are endless!  Try a rubber band ball or another rubber band source but the rubber band ball eliminates all those little nuisance rubber bands.  

I bought mine at Target.  

Love my rubber bands!! I bet you will do too!!!


Monday, November 4, 2019

I'm talking Turkey!!!! Make it stress free


No matter how many times I make a turkey I glance at this year after year just because it makes me happy to be able to share my blog to all the wonderful foodies all over the world. 


Thanksgiving is only three weeks away so I'm re posting these suggestions to make your Thanksgiving stress free.


I have entertained for many years and have found that taking the stress out of entertaining is the only way to go.  For years I fussed over perfection and finally realized it wasn't really the food that mattered so much as getting together with family, friends and love ones and believe me it was difficult coming to that realization.

After many years I am now enjoying Thanksgiving Dinner at our daughters.  I have passed the torch and if I may say so she does a great job of our Thanksgiving feast.  Here are a few helpful suggestions I am sharing to help you enjoy Thanksgiving Dinner and any time you are having more than two for a holiday turkey dinner.  Enjoy!


Helpful Thanksgiving Tips

Re-posting these to make Thanksgiving stress free!!!!


cranberry and fruit relish 


It doesn't seem to matter if I cook or go to my daughter's for Thanksgiving there are some things from year to year that never change. Today I am sharing some of my thoughts on making your turkey day a pleasant one.

First decide what time is dinner.  Early or mid to late day..1, 3 or 5 p.m..you decide..
Who's coming?  How many?  You have to plan on what size bird to buy.. Plan on 1/2 lb. of turkey per person allowing for leftovers or a hungry group.


Who's bringing a side or dessert? (If you don't get any offers, make sides and dessert simple.You want to enjoy the day!!!!!

Stuffing the Bird:  We use our traditional stuffing and if we stuff the bird we stuff it right before we put it in the oven, and don't pack it too tightly.  We don't want any problems!  Also, I might suggest to make at least one baking pan of extra stuffing.

  You must allow for leftovers for those who enjoy a lot of stuffing.  Make sure you coat pan with lots of butter or margarine.  It really brings out the flavor.

Now on to cleaning and cooking the turkey.  Most turkey's have instructions on the back of the package but  I'll give you some of my suggestions..

First, if the turkey is frozen allow it to thaw in the refrigerator.  Allow 1 day for every 4 or 5 lbs.  A 15 lb. turkey I would put in refrigerator on Monday to be sure it is thawed by Thursday.

Clean the turkey well making sure not to forget the neck and insides.  I have, in my earlier experiences, left the neck in.  Check the turkey and wash it in cold water. Pat it well and I put it in my roaster to drain(placing it on paper towels).   I use a large roasting pan that is not non stick.  You get great drippings!!!! Cover and refrigerate.

  Baking it at 325 degrees would probably take that 15 lb. turkey approximately 3 to 4 hours to roast depending on your oven. I usually start off my turkey at a 350 degree oven and after one hour take it back down to 325 degrees.

Now on to the GRAVY.  Remove drippings from pan, scrapping the bottom.  Add about 4 cups cold water and follow (I use Wondra flour instructions) to make a smooth gravy. Salt!! add about 1 tsp. or more.  Nothing is worse than bland tasting gravy.. Taste test to make sure.  Using a wire whisk so as to avoid lumps keep stirring gravy mix until smooth.

Last but not least, Test turkey to see if it is done.  I use a meat thermometer into the thickest part of the turkey, taking care not to touch the bone.  The temperature reading should be 165 degrees.  Let turkey sit for 15 minutes or so(vent with aluminum foil), after removing from oven.  Then carve to your liking...


Hope these tips will be a help to you this holiday!  Why not print it or bookmark this post...

Happy Baking and Cooking! 

Hoping you have a safe and healthy Thanksgiving. 

As always,


p.s.  Some of these tips on roasting the turkey were taken from a Cook. Smart magazine..

 11/15/12
11/19/14 
3/22/15
11/12/14 
11/12/15
11/4/2022
11/18/23

Friday, January 4, 2019

Getting ready for the New Year! Some positive thoughts and a recipe too!!

2018 is quickly approaching and although I am still in the holiday cooking mode I wanted to share some positive thoughts and a few helpful hints to help you in your the new year.

First being a great recipe for healthy vegetable soup. Check out the highlighted area below for the link to the recipe.

Vegetable Soup


12/31/15

Next if you decide you would like a sandwich or salad for lunch watch the amount of dressing or condiment.

 A nice light lunch sandwich is one that you would use:

2 slices of reduced calorie bread or even a pita pocket would do
3 oz. of light tuna (packed in water for sure and drained)
2 tablespoons light mayo or miracle whip which I like
1 tsp. pickle relish(optional)
lettuce and tomato
1 small banana or apple


In order to plan a healthy menu you must start off in the right direction and I believe getting your kitchen organized should be the first thing you do. Clear your counter and make sure to leave yourself some easy accessible space to prep your veggies, meats and poultry.  Even if you have limited counter space allow yourself some workable space with a nice cutting/ chopping board.  Preparing food will be much easier if you leave that space open.

Try to buy farm fresh vegetables when you can do so.  An Option is frozen which I use quite a bit in the winter.


Go through your cabinets and make sure you have quick access to spices.  Items you use frequently place close to the end of your shelf.. I find a nice 3 layer shelf works well in my cabinet and I can keep plenty of spices on it.

Get rid of those spices you never use or are outdated..Fresh is best..You need not replenish all at once..Spices are expensive, so use caution..

Organize your cabinet drawers and get rid of those items you don't use and use utensil trays to organize everything.

Place spatulas, tongs, slotted spoons and stirring spoons in a pretty crock on your counter to easy access and make sure to keep measuring cups and spoons close to the area you are working, preferably in a cabinet drawer.

Try not to store cookbooks on the counter..They take way too much room and allow for clutter..Find a pretty basket or bookshelf to keep them handy. 

 I make photo copies of my favorite recipes and keep them in a binder for easy access.  I buy plastic binder sheets to keep them free from food spills. I work directly from my binder and find it is the best way to follow a specific recipe and not have to work with paper that easily gets food splashed on it or ripped.

Hopefully I will inspire, motivate and help you organize your kitchen to make baking and cooking easier.

Happy New Year from my kitchen to yours!! 

12/30/11

Thursday, December 20, 2018

Lobster Tail anyone!!!

Re-post because lobster tail is a holiday favorite!!! 

Enjoy!

2022 Tonight’s lobster tail preparation.

****My tails were slightly larger  so I boiled the frozen tails for 20 minutes after I had returned them to a rapid boil after amercing them in water. 

2022 Christmas Eve!


How to Prepare a great lobster tail.

Note:  I am using frozen cold water lobster tails in this recipe! I prefer cold water tails and always use them.


I was going through some of my pictures and thought this illustration might be of use to those who like lobster tail and hesitate to prepare it because you may think it is difficult..

Hubby and I love it and we don't indulge very often but when we both crave some we buy some good quality lobster at our local market or I have bought it at Costco or Sam's.  Here is how I do it and it is tender and buttery with no fishy taste or grisly bits which I have come across at a few restaurants where they only broil their lobster tails. Hope you find this helpful!

 Happy Baking and Cooking from my kitchen to yours!

M. J.

Delicious and cooked perfectly!


Place lobster tail in a large pot and cover lobster with cold water..Add 1 tsp. red pepper flakes and 1 tablespoon vinegar

Bring to a boil and turn heat down to a low boil and simmer for approximately ***15 minutes depending on size of tails..  Note:  Lobster tail will change color from dark to deep reddish color


Remove with tongs from water..Rinse off in cool water.  Set aside to cool for a few minutes.


 Place tail on sturdy surface (cutting board) and press firmly down with a large serrated knife to crack shell


You will now have two pieces


Using a pastry brush , brush tail with melted butter, sprinkle with paprika and broil until bubbly (just a few minutes)


Example of large knife going through tail


Happy Cooking !


*All recipes and their respective images are the sole property of I Like to Bake and Cook 2012, all rights reserved. All content herein is meant for your personal enjoyment only and is in no way to be used for commercial purposes. Use of this site automatically constitutes your agreement to these terms.

4/15/12 
5/31/13